The Secret to Your Grandma's Perfect Chocolate Chip Cookies (Classic Recipe)
November 10, 2025
The Magic of a Mismatched Measuring Cup
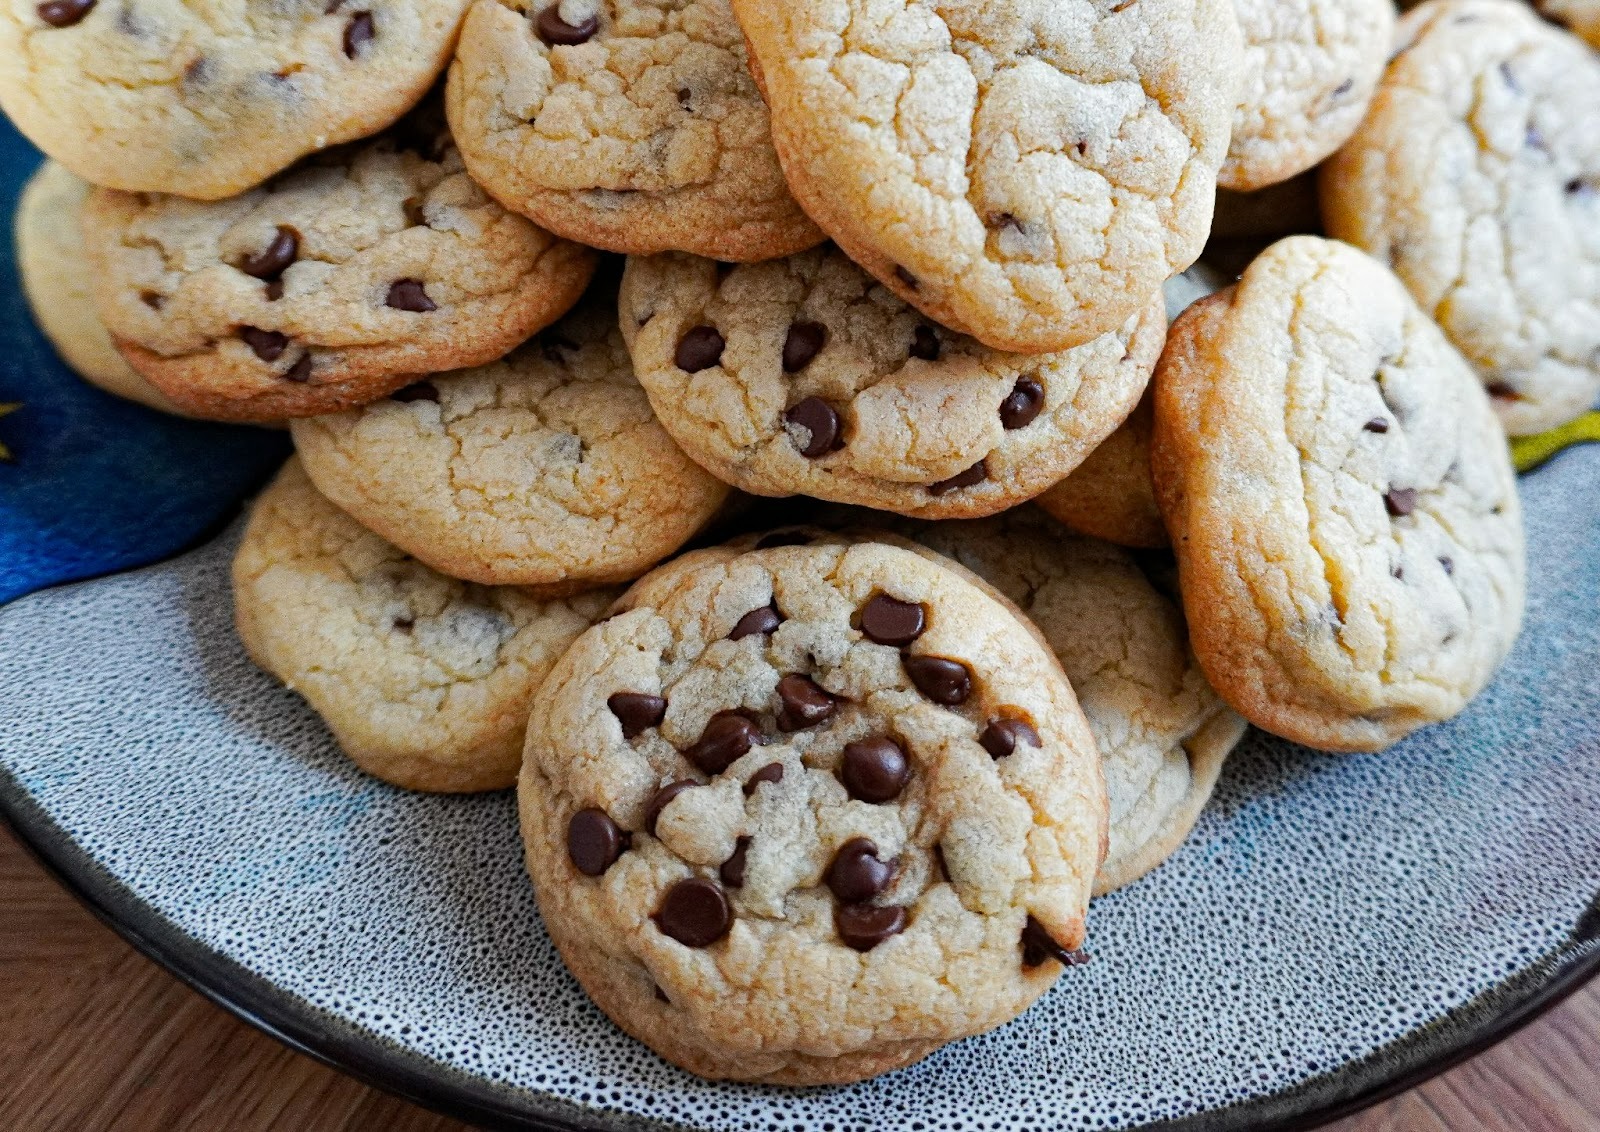
The classic chocolate chip cookies are more nostalgic than a comforting bite. The smell of chocolate cookies gives you a homecoming feeling. There are countless recipes for cookies. But these chocolate chip cookies will give you a very warm sense of nostalgia. More than an article, this recipe can give a reclaiming feeling inside you.
This special classic recipe is balanced with sugar, butter, and items that give a thick, chewy texture in the middle and have cracked edges. The signature means it was made with love and care. So let's dive deep.
Food Culture & Stories: Where This Recipe Came From
Back in the 1930s, over in Massachusetts, Ruth Graves Wakefield ran the Toll House Inn and pretty much stumbled into inventing this cookie. She tossed chunks of Nestlé chocolate into her dough, figuring they'd melt right in. Nope. Those bits held their shape and turned into the first chocolate chips. Ruth ended up swapping her recipe to Nestlé for a lifetime of free chocolate.
The Grandma’s cookies are made with an old-fashioned method. Each ingredient is added with love, compassion, and care for her young children. We should admire, she had a little patience and a lot of love.
Who Can Make This Recipe Happy?
This recipe is ideal for anyone looking to nurture their home with warmth and aroma. It’s perfect for:
The Beginner Baker: The steps are straightforward.
The Busy Parent (or Grandparent): The dough can be prepared ahead of time, chilled, and baked in small batches, ensuring fresh, warm cookies on demand.
Anyone Seeking Comfort: Studies show that engaging in simple, repetitive tasks like mixing dough and sharing food with others boosts mood and fosters a sense of community and connection.
The Cookie Snob: By following the texture-focused tips, even the most critical cookie connoisseur will appreciate the chewy center and golden edges.
The Recipe: Grandma's Secret to Perfect Chocolate Chip Cookies
The secret to this recipe's perfect texture lies in two key areas: using a mix of brown and white sugar, and resting the dough.
Ingredients Checklist
Item | Quantity | Detail/Tip |
Flour | 2 ¼ cups | All-purpose flour. Measure using the "spoon and level" method—do not scoop directly from the bag. |
Baking Soda | 1 tsp | The leavening agent that gives the cookies their lift. |
Salt | 1 tsp | Crucial for balancing sweetness and enhancing the chocolate flavor. |
Butter | 1 cup (2 sticks) | Unsalted butter, softened to room temperature (about 70°F). |
Granulated Sugar | ¾ cup | Provides crispness and helps the cookies spread. |
Brown Sugar | ¾ cup | Packed! The molasses in brown sugar is key to the chewy texture. |
Vanilla Extract | 1 tbsp | Don't skimp. Use pure vanilla for the best aroma. |
Eggs | 2 large | Must be at room temperature for better emulsion with the butter. |
Chocolate Chips | 2 cups | We recommend a mix of semi-sweet chips and chopped dark chocolate for flavor complexity. |
Step 1: Get ready the Dry Ingredients
Preheat the oven to 375°F (190°C).
Line 2 large baking sheets with parchment paper. This is a very simple way to avoid cookies sticking and ensure your cookies bake evenly.
Mix the dry ingredients with a whisk in a medium bowl, like flour, baking soda, and set this aside.
Step 2: Mix the wet ingredients mix
Cream the Base: Using a hand mixer or stand mixer in a large bowl combine the softened butter, granulated sugar, and packed brown sugar.
Beat Until Fluffy: Beat this mixture on a medium speed for 3 to 5 minutes until it looks fluffy and light. Through this process, you are trying to beat air into the dough, which helps the cookies rise up beautifully.
Add Wet Ingredients: Add vanilla extract, then add one egg at a time and mix each one very well.
Step 3: Combine & Chill
Combine Gently: Slowly add the dry ingredients from Step 1 to the wet mixture. Mix on low speed just until the flour disappears, and stop there. Overmixing develops gluten and gives you tough, disappointing cookies.
Fold in the Chocolate: Use a spatula to gently fold in the chocolate chips by hand.
Chill Down: Cover the bowl with plastic wrap and chill for 2 hours. This can help to solidify the butter, and can spread the flavor evenly to get cookies thick and chewy.
Step 4: Bake & Cool
Scoop: Use a rounded tablespoon or a 1.5-oz cookie scoop to drop the dough onto your prepared sheets, leaving about 2 inches between each cookie.
Bake: Bake for 9 to 12 minutes. You want the edges to be golden brown and set, but the centers should still look slightly soft and puffy. That softness is the key to the ultimate chewiness!
Patience Pays: Let the cookies cool on the baking sheet for 5 full minutes before moving them to a wire rack. This allows the residual heat to finish setting the gooey center, locking in the perfect texture.
Conclusion: Baking is Love, Not Just Science
The classic chocolate chip cookie is a testament to the enduring power of simple food. It perfectly embodies the Family & Community pillar of your website—food that brings people together and requires nothing more than quality ingredients and a little patience. Whether you use a fancy mixer or a wooden spoon, the most important ingredient is the intention.
So, put on your apron, measure your flour with care, and embrace the magic of that buttery, sugary aroma filling your home. You're not just baking a cookie; you're baking a memory, just like Grandma did.
Frequently Asked Questions (FAQs)
1. Can I use melted butter instead of softened butter?
Melted butter will result in a flatter, crispier cookie because it changes the fat's structure and how it creams with the sugar. For the chewy texture of Grandma's cookie, you must use softened, room-temperature butter to incorporate air effectively.
2. Why is chilling the dough so important?
Chilling the dough is essential for three reasons:
Reduced Spread: The fat (butter) solidifies, preventing the cookies from spreading too quickly in the oven.
Flavor Concentration: It allows the flour to fully hydrate and the sugars to absorb, intensifying the overall flavor.
Texture: It results in a thicker, chewier cookie with a soft center.
3. How do I keep the cookies from going flat?
To prevent flat cookies:
Use room temperature eggs and butter.
Chill your dough for at least 30 minutes.
Ensure your baking soda is fresh.
Do not over-mix the batter after adding the flour.
4. What is the best way to store the dough?
Cookie dough can be stored in an airtight container in the refrigerator for up to 7 days. Alternatively, scoop the dough into balls and freeze them in a zip-top bag for up to 3 months. Bake frozen cookie dough balls for 2-3 minutes longer than usual.
5. Can I use all white sugar or all brown sugar?
Using only granulated (white) sugar will result in a crispier, flatter cookie. Using only brown sugar will make the cookie very moist, dense, and potentially too soft. The combination of the two is necessary to achieve the classic balance of crisp edges and a chewy center.
6. Can I make this a gluten-free cookie? (Healthy Living)
Yes, you can substitute the all-purpose flour with a 1-to-1 gluten-free baking blend that contains xanthan gum. No other changes to the recipe are necessary, but you may need to bake for 1-2 minutes longer. Thus it can make it fit for Healthy Living.
By - Chithra (Digital Marketing Executive)
https://taylorchip.com/blogs/news/over-mixed-cookie-dough
