The Art of Christmas Baking: Tips for Perfect Doughs & Frostings
December 08, 2025

Introduction
The baking is an essential process in the Christmas season which helps to connect family. Traditionally baking is the time kids and grandparents get connected with grown ups in the family. It makes the holiday season very warm and joyful with the best baking and feast. Transforming simple flour, butter, and sugar into festive masterpieces is a culinary tradition that demands both patience and precision. We'll share professional tips and important steps to make sure your holiday dough is perfect and your frosting is smooth.
Mastering the Dough: Pro Tips for Consistency and Texture
Achieving the ideal cookie texture—whether tender, crisp, or chewy—starts with how you handle the ingredients and the dough itself.

1. Precision in Measurement:
* Tip: Always use a kitchen scale to measure flour and dry ingredients. A measuring cup can be inconsistent, leading to up to 25% too much flour.
* Pro Tip: Sift after measuring for light, airy cookies. For chewier cookies, don't sift, but scoop flour lightly into the cup (if not using a scale) and level off.
2. The Creaming Technique:
* Tip: Cream butter and sugar until the mixture is visibly lightened in color and fluffy (about 3-5 minutes). This process incorporates air, which is crucial for leavening and tenderness.
* Pro Tip: Your butter should be at a cool room temperature (about 68degree F or 20 degree C). If it's too warm, it melts instead of forming air pockets, resulting in flat, greasy cookies.
3. The No-Overmix Rule:
* Tip: Once you add the flour, mix on the lowest speed only until the last streaks of dry ingredients disappear.
* Pro Tip: The moment the dry ingredients are mostly combined, finish mixing by hand with a spatula. This prevents the gluten in the flour from over-developing, ensuring your cookies remain tender and do not become tough or bread-like.
4. Strategic Chilling:
* Tip: Wrap your cookie dough tightly in plastic and chill for at least 30 minutes, or up to 24 hours.
* Pro Tip: For extra-firm doughs that won't spread, roll the dough between two sheets of parchment paper before chilling. Once chilled, you can cut shapes immediately and transfer the whole sheet of parchment directly to the tray, minimizing handling.
5. Consistent Rolling and Cutting:
* Tip: Roll the dough to a uniform thickness (typically 1/4 inch) for even baking.
* Pro Tip: Use rolling pin guides or dowels placed on either side of your dough. These ensure every part of the dough is exactly the same thickness, preventing some cookies from burning while others undercook.
Baking and Cooling: Pro Tips for Perfect Shape and Texture
The final moments in the oven are critical for setting the structure and flavor of your Christmas treats.
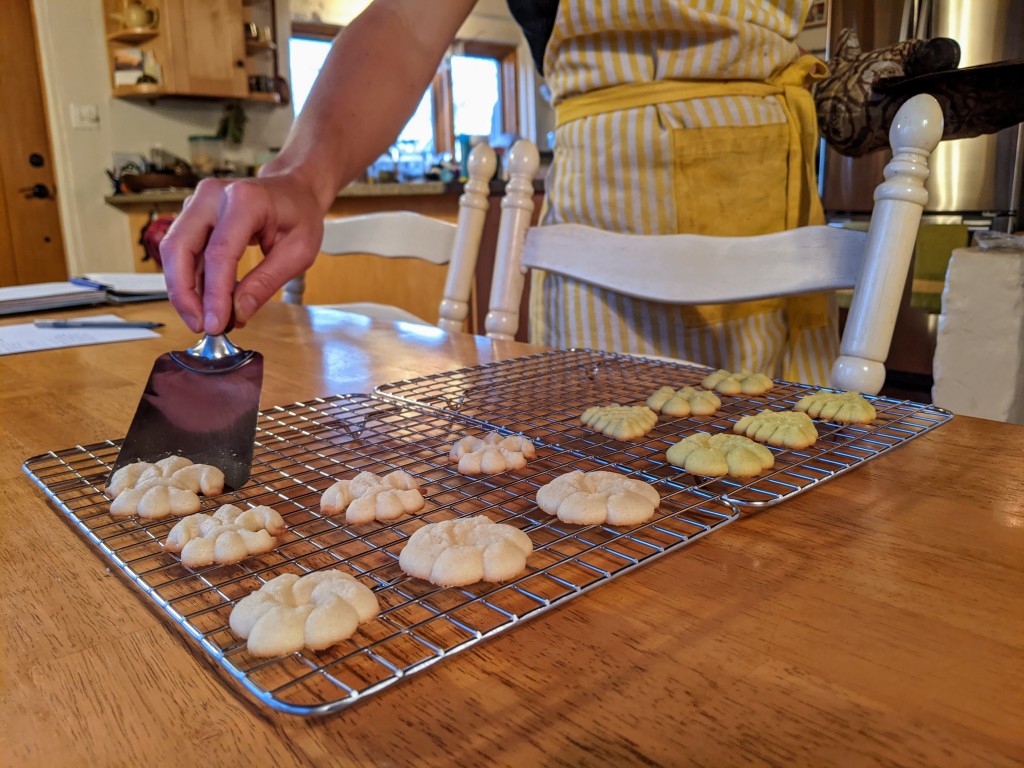
1. The Cool Sheet Exchange:
* Tip: Always place cookie dough on a cool, ungreased baking sheet.
* Pro Tip: Keep two or three baking sheets in rotation. If you place dough on a warm sheet, the butter melts immediately, causing the cookies to spread rapidly and lose their shape.
2. Temperature Verification:
* Tip: Check your oven with an oven thermometer. Home ovens are often off by as much as 25degree F to 50degreeF.
* Pro Tip: If your cookies are burning on the bottom, your oven may be heating unevenly. Try sliding an empty, clean baking sheet onto the rack below your cookies to diffuse the direct heat.
3. The Doneness Signal:
* Tip: Remove most cookies when the edges are set and a light golden brown, but the centers still look slightly soft.
* Pro Tip: Cookies continue to cook on the sheet after they leave the oven. Let them rest on the hot pan for 2-3 minutes before transferring them to a wire rack to ensure they firm up without burning.
Frosting and Decorating: Pro Tips for Professional Finish
The final coat of frosting transforms a simple cookie into a festive gift.
1. Consistency is King (Royal Icing):
* Tip: For detailed work, Royal Icing is used in two consistencies: Stiff (for outlining) and Flood (for filling).
* Pro Tip: To create flood consistency, add water to your stiff icing one drop at a time until a line drawn across the surface disappears in about 10-15 seconds. This "10-second rule" ensures the icing is thin enough to flood but thick enough to stay contained.
2. Stabilizing Buttercream:
* Tip: For stable, pipeable buttercream, use the freshest butter and confectioner's sugar.
* Pro Tip: Make sure to use a small amount of clear vanilla extract and a pinch of salt to enhance flavor. If you feel the frosting is too soft , you can add 1-2 teaspoons of meringue powder or chill it slightly to stabilize the consistency of butter.
3. Color Integrity:
* Tip: Use gel food coloring instead of liquid food coloring.
* Pro Tip: Icing colors always deepen with time. To avoid overly intense shades, mix your desired color slightly lighter than you want, cover the bowl with plastic wrap, and let it sit for 30 minutes. The color will naturally deepen as it rests.
Conclusion
To have successful Christmas baking, you need to follow the science of making good dough and be creative with how you decorate. By applying these professional tips—from using a kitchen scale for precise measurements to mastering the consistency of your royal icing—you will eliminate common baking frustrations. You'll end up with a beautiful, perfect collection of cookies! They will look stunning, be ready to share, and really capture the spirit of the holidays.
FAQs
Q1. Is salted butter or unsalted butter good to use for cookies?
A: Always use unsalted butter to make cookies, this helps to avoid unwanted salt content in cookies. If you use the salted butter remove the step to add a pinch of salt from the recipe.
Q2. How can I store leftover dough to bake later?
A: To save your leftover dough, just wrap it up really well in plastic wrap. After that, stick it in a freezer bag and push out all the air. It'll stay good for up to 3 months. When you want to use it, move it to the fridge the night before so it can thaw.
Q3. My gingerbread houses keep collapsing. How do I make the dough sturdier?
A: Use less or no leavening agent (baking soda/powder) than a recipe intended for soft eating cookies. Over-bake the pieces slightly so they are very hard and crisp. Let them cool completely flat before assembling with royal icing.
Q4. How do I prevent vibrant colored frosting (like red or green) from bleeding onto the white icing?
A: Keep overnight(around 6-7 hours) to make base level hard before applying contrasting colors. Make sure to use royal icing to dry fast, so that to avoid moisture transfer.
Q5. Why do my cookies always come out dark on the bottom?
This happens due to the use of dark colored baking sheets which absorb more heat than light colored aluminium sheets. So always use light colored aluminium sheets and line them with parchment paper for the best results.
Q6. What's the best way to clean my piping bags and tips after using colored icing?
A: Always make sure to rinse immediately with cold water to prevent the sugar from hardening. The deep color stains can be removed with the help of soaking tips in white vinegar and water solution (about 4:1 ratio) and scrub gently with a small brush.
By Chithra Sooraj(Digital Marketing Executive)
